Cisco Phones #
~.Dimensions.~ integrates directly with the Cisco CDA service. Any new Cisco phones added to ~.Dimensions.~ will automatically provision. If adding a phone which has been used previously on another platform, it may need to be reset using the instructions below.
info
Only 78xx and 88xx series phones are supported on the CDA for automatic provisioning. 68xx and SPA series phones must be manually provisioned.
warning
Only 3PCC Cisco phones (or phones that have a 3PCC license) can be used on ~.Dimensions.~. If you have a Cisco Unified Call Manager phone which you would like to use, please refer to the Migration section below.
Defaulting a Cisco Phone #
Cisco phones are straight forward to default to factory settings. With the phone powered off:
- Hold the # key while plugging the phone back in
- Continue to hold the # key while the Headset, Speaker, then Mute buttons begin to flash in sequence, release the # key (you may have to hold the # for 30 seconds).
- After the line lights buttons begin to flash in sequence, immediately press 123456789*0# in sequence (you only have 60 seconds to do this, then it goes back to normal booting).
Once these steps have been completed, the phone should reboot, allowing the normal automatic provisioning process to be followed.
Manual Provisioning #
If there are problems with the Cisco provisioning service or the phone does not support automatic provisioning (68xx, SPA etc), you may need to provide the details to the phone manually on how to talk to the ~.Dimensions.~ system.
To complete manual provisioning, you will need the base Cisco provisioning URL from the Device Configuration area.
Phone UI #
Log into the phone's web UI and access the 'Advanced' area. Navigate to the 'Voice\Provisioning' section.
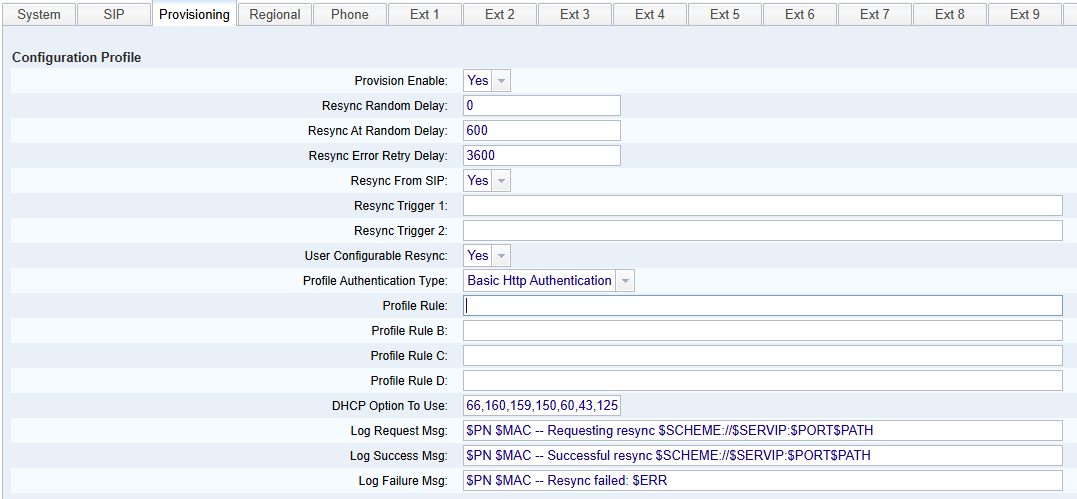
Populate the 'Profile Rule' and save the settings down to complete the provisioning process:
Example 'Profile Rule' format -> {Provisioning URL}/$MA.cfg:
https://provisioning.na.xarios.cloud/cisco/$MA.cfgtip
As long as the phone is unlocked on the ~.Dimensions.~ portal, the phone will be able download configuration from the base Cisco provisioning URL without the additional sub folders. Remember to replace the country code with the one specific to your region.
info
Once provided, the phone should query the required configuration and reboot as required.
DHCP #
To deploy Cisco SPA phones automatically, DHCP option 160 can be used. Option 160 is a string value and can be populated directly with the Cisco provisioning base URL:
http://provlegacy.uk.xarios.cloud/cisco/$MA.cfgOnce the DHCP option is configured, reset the phone to factory defaults. After rebooting, the phone should find the ~.Dimensions.~ provisioning server using the DHCP option provided.
Cisco Phone Migration #
Cisco phones come in two variants, 3PCC (Third Party Call Control) and CUCM (Cisco Unified Communications Manager). The CUCM phones are not supported on ~.Dimensions.~ and will need to be converted to 3PCC before they can be used.
tip
To check which variant you have, the phones model number will include '3PCC' if it is a 3PCC phone. If it does not, it is a CUCM phone.
In order to convert a CUCM phone to a 3PCC phone, you will need to purchase a license (e.g. L-CP-E2M-78XX-CNV for 78xx phones, L-CP-E2M-88XX-CNV for 88xx phones).
warning
Cisco have restrictions on which hardware versions of these phones support conversion to 3PCC. Please refer to the Cisco documentation for the latest information on which hardware versions are supported.
Once you have the license, follow the instructions on the website below to convert individual phones manually or in bulk:
If after you have migrated the phone to 3PCC firmware you are seeing a message 'Provide the migration license. Contact your administrator' then the migration firmware is correct but the migration license has not been applied successfully.
The migration license can be manually applied using the following steps (The steps below assume you have the license file available on a tftp server):
- Log into the phone's web interface as an admin
- Navigate to the 'Advanced' area
- Navigate to 'Voice\Provisioning'
- In the 'Firmware' area, enter the foll0wing items :
- Transition Authorization Rule: tftp://{IP_ADDRESS_OF_TFTP_SERVER}/{MAC_ADDRESS}.lic
- Transition Authorization Type: Classic
- Click 'Submit All Changes'
The phone should now re-query configuration and load the supplied license.
If successful, the phone will reboot and the message should no longer be present.
802.1x #
Custom Configuration Files #
The addition of custom configuration files is supported for Cisco phones. Cisco configurations are flat XML files.
The example below shows how to change the first ring tone on the handset:
<Ring1 ua="rw">n=Ringer;w=file://Ringer.rwb;c=1</Ring1>Any XML items included here will be combined with the configuration sent to the phone.
info
If you browse to the Cisco phone's web interface as an admin, you can view the available XML config options using this URL 'https://{IP_ADDRESS_OF_PHONE}/admin/spacfg.xml'.